Rendering the Display with Dear ImGui and GLFW
In the first part of this series, I introduced the CHIP-8 architecture and the motivation behind building an emulator.
If you have not read the first post, you can find it here:
Part 1:
https://jojysaju.dev/post/chip8_emulator_blog
In this post, I will walk through the next step of the project: creating the application window, rendering the CHIP-8 screen, and setting up the main emulator loop.
The source code for this project is available here:
https://github.com/8bitdev0x8/Chip8
Why I Chose C++
One of the first decisions I made when starting this project was choosing the programming language.
I chose C++ for a few important reasons.
Portability
My long-term goal is to eventually run this emulator on hardware platforms. C++ is portable and can be compiled across different operating systems and architectures.
Performance
Emulation requires simulating CPU instructions in real time. C++ provides low-level control over memory and execution speed, which is useful when building an emulator.
Creating the Project
The first step was creating a new project in Visual Studio.
I created a Windows C++ Blank Project. This allows full control over dependencies and project structure.
For now, the emulator is implemented mostly in a single file: main.cpp.
This file contains:
- window initialization
- Dear ImGui setup
- emulator execution loop
- display rendering
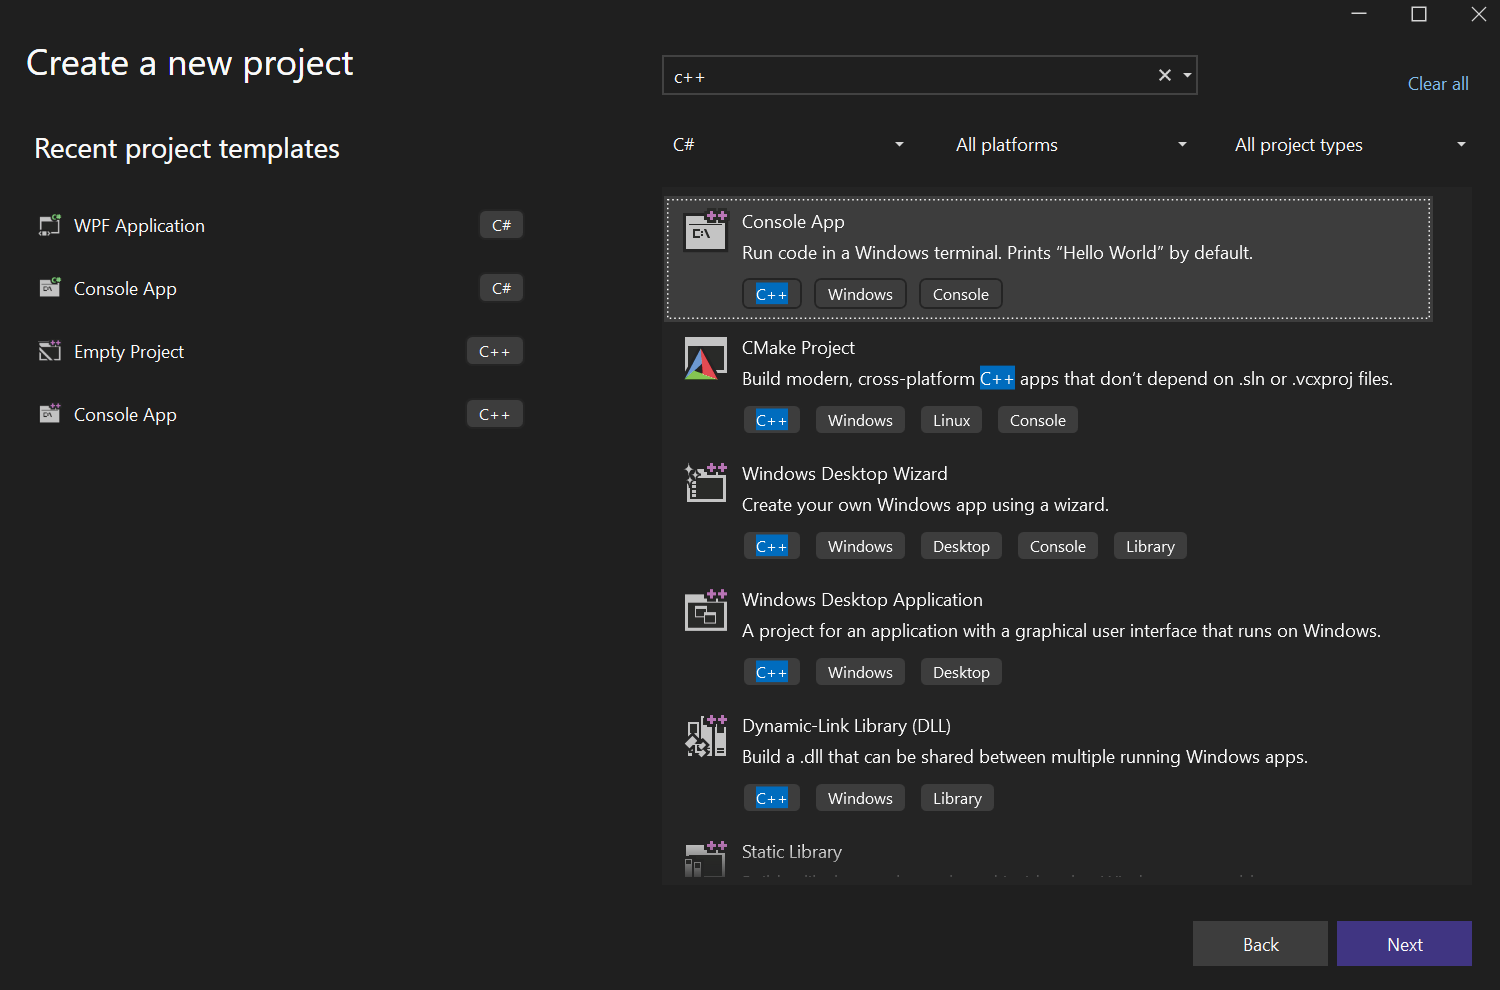
Project setup snapshot from the initial build phase in Visual Studio.
The CHIP-8 Display
The original CHIP-8 system used a 64 x 32 monochrome display.
The screen coordinates look like this:
(0,0) ------------------ (63,0)
|                         |
|                         |
|                         |
(0,31) ----------------- (63,31)
Each pixel is either:
0= off1= on
Inside the emulator, this is usually stored as a framebuffer.
Example:
uint8_t display[64 * 32];
Whenever the CHIP-8 CPU executes a draw instruction (DXYN), the framebuffer is updated.
The renderer then draws this framebuffer to the screen.
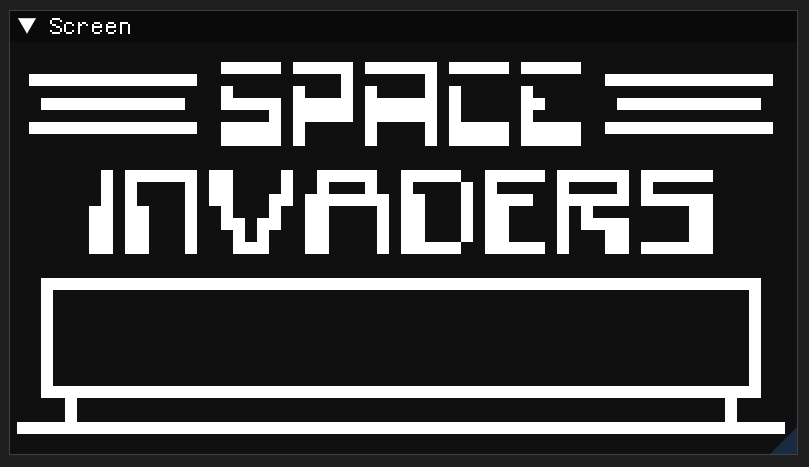
Space Invaders drawn to the screen from the framebuffer.
Choosing a Rendering Library
To render the CHIP-8 display, I needed a simple graphics library.
While exploring options, I came across the Dear ImGui project:
https://github.com/ocornut/imgui
Dear ImGui describes itself as:
“Bloat-free graphical user interface for C++ with minimal dependencies”
This made it an excellent choice for this project.
Why Dear ImGui?
- lightweight
- simple integration
- minimal dependencies
- easy rendering APIs
- built-in debugging UI
Another advantage is that Dear ImGui provides higher-level rendering primitives, which means I do not need to directly implement OpenGL rendering logic.
Creating the Window with GLFW
To create the application window and manage input events, I used GLFW:
GLFW is responsible for:
- creating the application window
- handling input
- managing the graphics context
The initialization starts with:
glfwInit();
Then creating the window:
GLFWwindow* window = glfwCreateWindow(800, 600, "CHIP-8 Debugger", nullptr, nullptr);
Then the context is activated:
glfwMakeContextCurrent(window);
Once the window is created, Dear ImGui can be initialized using the GLFW backend.
Integrating Dear ImGui
After creating the window, Dear ImGui is initialized.
This allows us to draw UI elements and custom graphics inside the window.
Typical setup includes:
- creating an ImGui context
- initializing the GLFW backend
- starting a new ImGui frame each loop
Example structure:
ImGui::NewFrame();
At the end of the frame:
ImGui::Render();
Rendering the CHIP-8 Framebuffer
The CHIP-8 resolution (64x32) is very small compared to modern displays.
To make the display visible, each pixel must be scaled up.
Example scaling:
- Pixel size =
10 64 * 10 = 640pixels width32 * 10 = 320pixels height
Each CHIP-8 pixel is rendered as a small rectangle.
Pseudo code:
for (int y = 0; y < 32; y++)
{
    for (int x = 0; x < 64; x++)
    {
        if (display[x + y * 64])
        {
            draw_pixel(x, y);
        }
    }
}
Using Dear ImGui’s DrawList API, rectangles can be drawn easily.
This makes it straightforward to render the framebuffer.
The Emulator Main Loop
Once everything is initialized, the emulator enters the main loop.
This loop runs until the window is closed.
Example structure:
while (!glfwWindowShouldClose(window))
{
    emulateCycle();
    renderFrame();
}
Inside the loop:
- process window events
- execute emulator CPU cycles
- render the display
- update the UI
This loop keeps the emulator running continuously.
Controlling Execution Speed
An important part of emulation is timing.
The emulator must not run too fast or too slow.
To maintain correct behavior:
- the CPU executes a fixed number of cycles
- timers update at fixed intervals
- the renderer updates every frame
This allows the emulator to behave close to the original system.
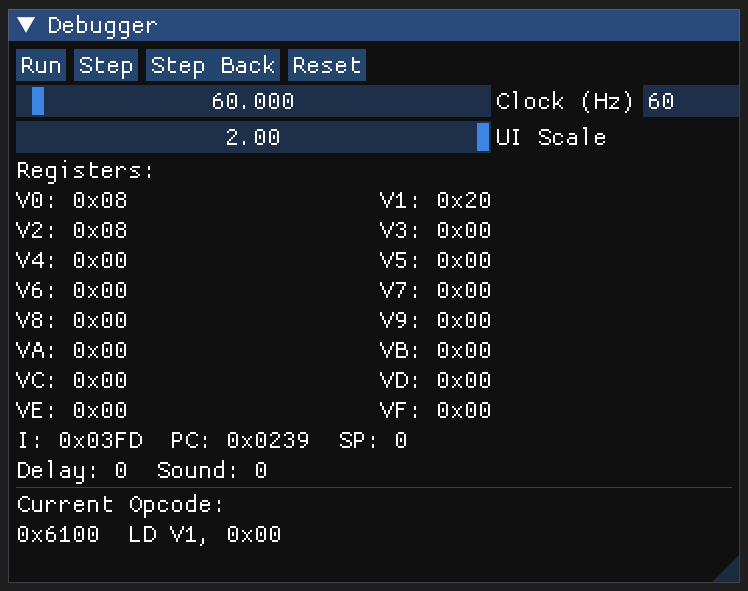
Live debugger controls for timing and execution: run/step/step-back/reset, adjustable clock target (Hz), and register snapshots (I, PC, SP, V0-VF).
Source Code
Full project source code:
https://github.com/8bitdev0x8/Chip8
Conclusion
In this part of the project, I focused on building the platform layer of the emulator.
This includes:
- creating a window with GLFW
- integrating Dear ImGui
- rendering the CHIP-8 framebuffer
- building the main emulator loop
In the next part, I will explore the CPU implementation, including how CHIP-8 instructions are decoded and executed.